Tech Tip Tuesday: Tumblebooks in Classroom

It has been awhile since I linked up with Cheryl from Techie Turtle Teacher for her Tech Tip Tuesday.

Have any teacher thought what they were going to do if it is too rainy to go outside or need to take a brain break.  Well, tere is oe wa for te cildre to eo teselves wile takig a break ad tat is Tblebooks.

It is a fun way for children to capture what is going on with the activity while being inside on a dreary day.

What is Tumblebooks?
Tumblebooks is a fun website full of ebooks for children to listen to and see the pictures. They can even say the best lines along with the person.

Steps:
1. Look up the website ad click on the link.

2. Then, when you are there, click on the Tumblebooks link.

3. Register and sign up and enjoy it.

4. However, another way is to find a public library and see if they have a tumblebooks
account.
Here is a perfect example:

I am exciting to share this tip with you guys and hope that everything can happen. Have a great day and hope to write to you guys soon.

Tech Tip Tuesday: Evernote and How To Use It

Well, after some break from the whole thing, I am linking up with Cheryl from Techie Turtle Teacher for her Tech Tip Tuesday.

http://techieturtleteacher.blogspot.com/

I am going to give you guys a tip about how to use Evernote and that would be great with teachers when it comes to class and also when you guys need to organize.

Evernote is designed for us to collect our thoughts and also what we want to teach students in the future and put them in the app for further use. You can make multiple accounts if you want for your personal and for your professional use. It is also a great way to create a portfolio for others to use.

There are many tools to Evernote that I am going to talk to you guys about, like some that I love to show you.

1. Text: This tool can pretty much be where you will write what is going on and also what you down in your notebooks and what you will put down so you could see how it is done.

2. Camera: You could capture what you are doing and keep it as a photo for you to go back towards.

3.  Handwriitng: This is where the fun really begins. You could use your finger or pointer and write something for you to use. Also, it could be used as as a reminder for you whenever you could.

4. Reminder: This could also be used as a way for you to see what you need to do soon.

Well, that is the question that many people can use. But, here is how you can use it.

The first thing is that I would figure out which tool on Evernote that I want to use which would be text for me.

Then, you need to write something that would be a great reminder for you.

I wrote a reminder that I would be able to schedule blog posts, now I need to figure out when I would schedule it.

Then, I would press OK and Voila, the reminder is set for me to see.

That is how you use Evernote. It could also be used as a portfolio. I would be back next Tuesday for another edition of what I used to keep me organized.

Thanks and remember to link up with Cheryl on her blog.

Tech Tip Tuesday-How to Create a Blog Signature

Hello guys, I have a reason for not being able to blog. I was sick and I was so tired that I cannot open my eyes that much. However, I am back and I am going to post multiple times per day which is against the blogging law, but I need to make up for time.

I am linking up with Cheryl for her Tech Tip Tuesday @ Techie Turtle Teacher

Today, I am going to give you my version of how to create a bog signature. First thing that you need to do is to find a photo-editing software such as Pixlr for you to use.

When you create a brand new signature, remember to keep it transparent so you would keep it the way that you want.

Then, you need to figure out what your signature is and type it down using the perfect font for you to use.

My font that I am going to use is Missed Your Exit by Kevin and Amanda.

Now, I am going to tell you that you need to save this as a PNG because that way you can keep the transparency and not lose it.

Then, I am going to do a shortcut because that is the only way that I can provide right now until next time. But, link up with her at her blog…

http://techieturtleteacher.blogspot.com/

Thanks and enjoy your new signature, I know that I can enjoy it myself

Tech Tip Tuesday: How to create a sidebar set!!

Hey guys, it has been too long. I am linking up with Cheryl from Techie Turtle Teacher for her Tech Tip Tuesday…

http://techieturtleteacher.blogspot.com/

Today, I am going to blog about how to create a sidebar and next week, I am going to teach you how to put it on your blog.

HOW TO CREATE A SIDEBAR SET?
First, what you need to do is to figure out what you need to make for your sidebar. However, remember to read their TOU so you could see what you can and cannot do. 
Second, you need to use some sort of photo-editing site such as Pixlr or Photoshop. 
Third, start off by making sure that the measurements would be right without it blocking your blog posts. I am using 480×122 pxls. 
Fourth, add some creative things to it to make your blog sidebar stand out. Just, not too out for the  blog posts to shine. Also, make sure that you would have a catchy title that can make it pop on your blog. 
Then, save it as a PNG to keep the transparency of the sidebar.

Now, this is only the very beginning of the next step. Tune in next Tuesday about how to add them to your blog. Thanks for the patience!!!

Remember to link up with her blog.

http://techieturtleteacher.blogspot.com/

Have a great day!!!

Tech Tip: How to Edit and Decorate Your Pinterest Board Covers

Hey guys, I am linking up with Cheryl from the Techie Turtle Teacher for her weekly Tech Tip Tuesday.

http://techieturtleteacher.blogspot.com/

Well, last week I posted about how to create board covers for Pinterest. Well, the next day I went to see my beautiful work and this happened…

So, I am going to teach you how to edit and customize board covers for Pinterest. First, what you need to do is to find your damaged boards and start to repair the covers. For me , that would be the Art Projects board and also the Science Project Board.

Then redo the board cover and make sure that it is following the guidelines to avoid the mistake like the above picture…
Guidelines:

  • 217x 146 pixels
  • font must fit the board cover.
  • make sure that it actually fits into the board.

Finally, EXPERIMENT!!!!!

I cannot stress this one, but I find some gizmos and gadgets that would help with fitting the board and they work. Remember to use Pixlr to help or you can use another photo editing software such as Photoshop.

Finally, finally customize your board cover to fit the theme of your blog.

Here is the finished result…

Have any suggestions and/or questions, comment below and I reply back.

I am off to finish my Pinterest Board Covers and redo them.
Link up with her on her blog…

http://techieturtleteacher.blogspot.com/

See you next week.

Tech Tip Tuesday: How To Create Board Covers For Pinterest

Today, I am linking up with Cheryl from Techie Turtle Teacher for her weekly Tech Tip Tuesday.

I know a lot of people have been blogging about this, so I figured why don’t I. Today, I am going to give you a tutorial of how to create board covers for Pinterest.

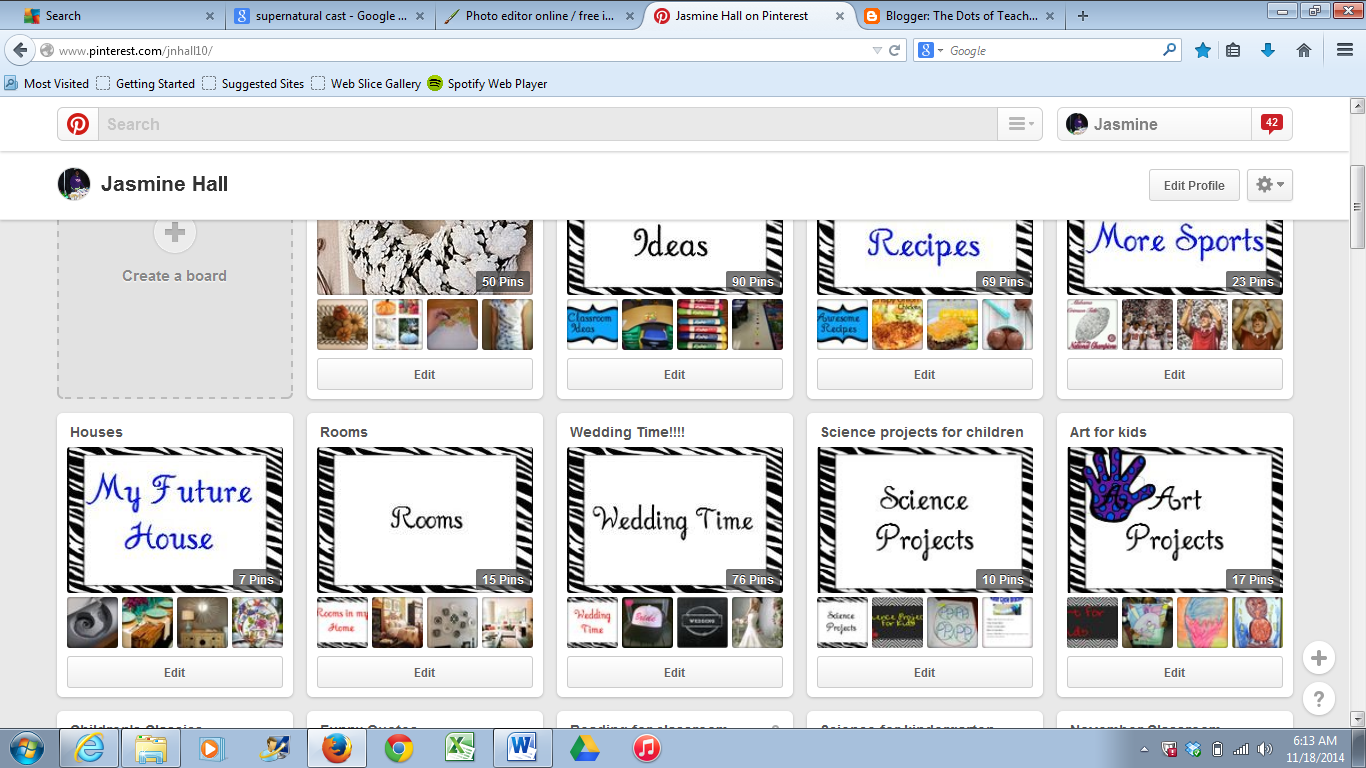
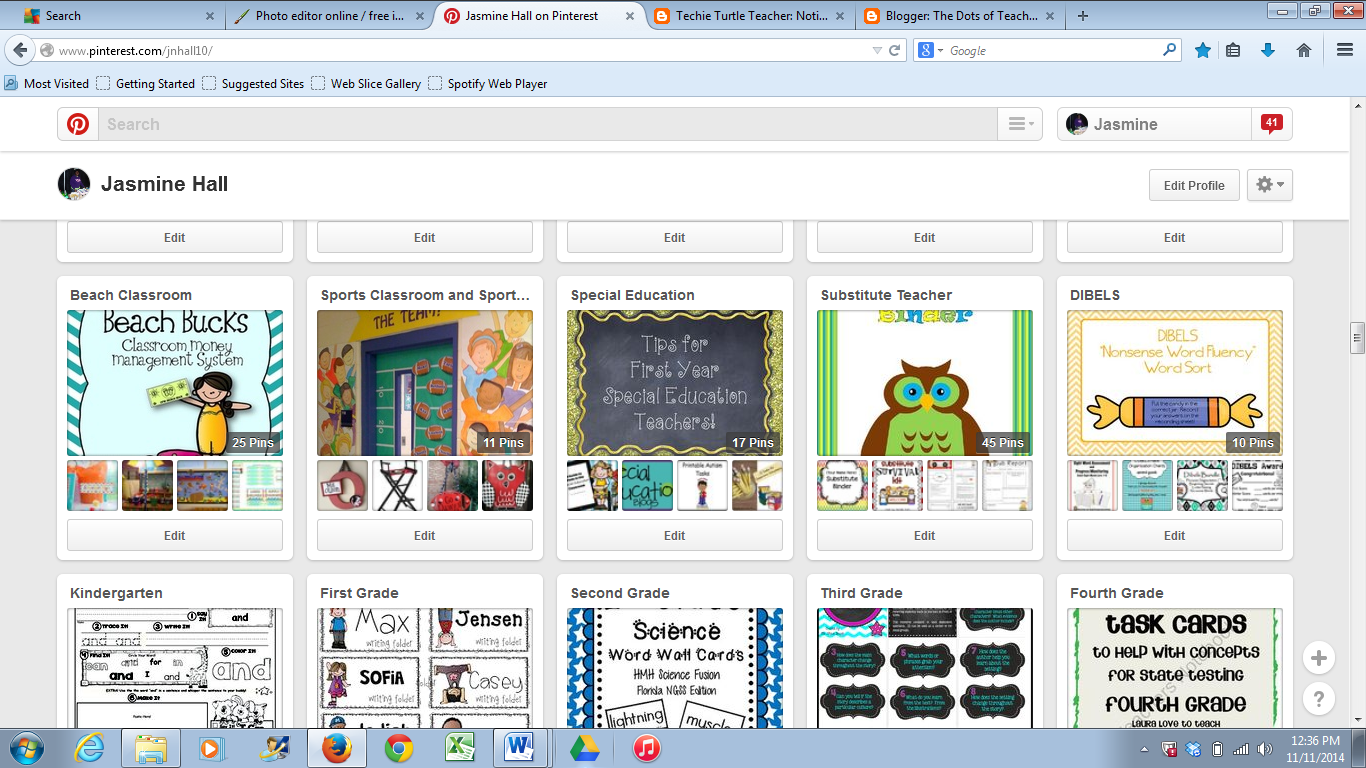
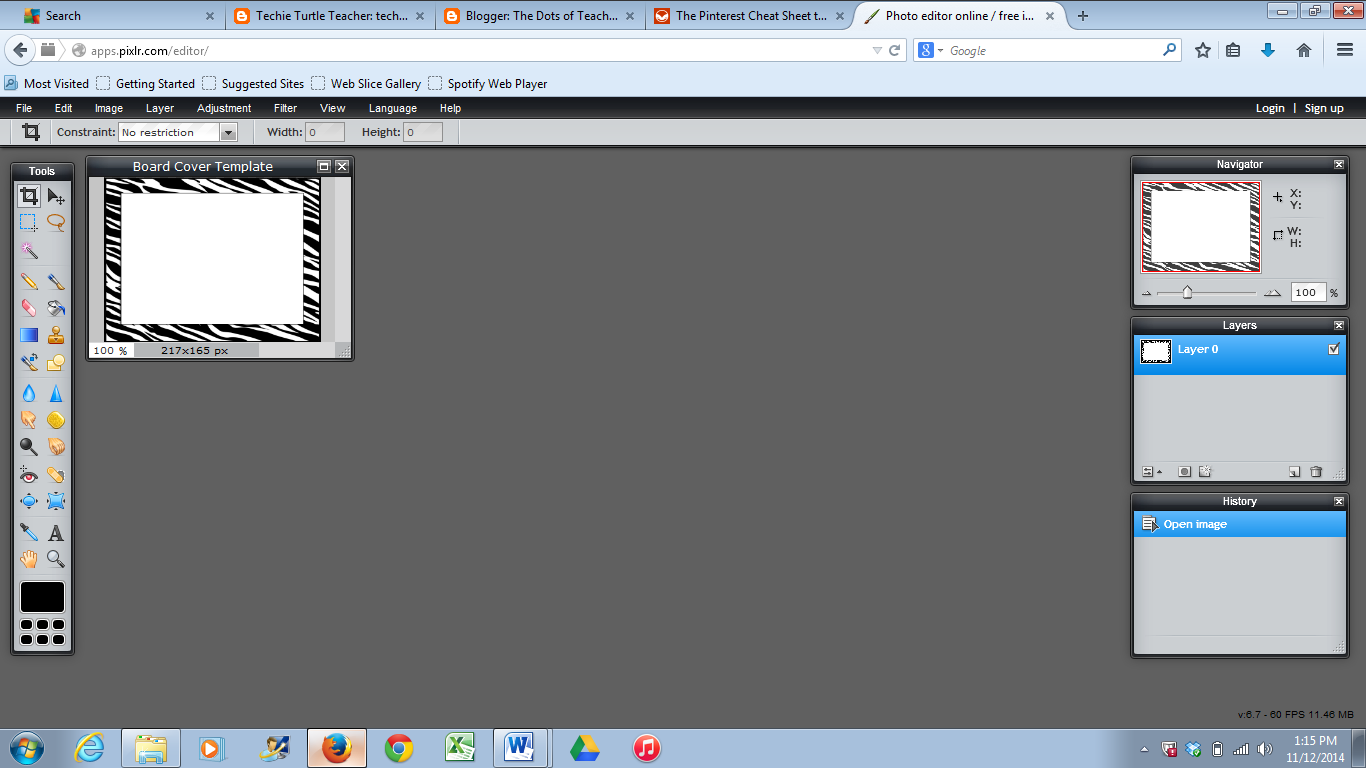
First, make a board cover that can fit into your board on Pinterest. The measurements for that are 217 x 147 pixels. There is a cheat sheet guide that can fit well into your board AuthorMedia. This is what my boards look like before I organized them.

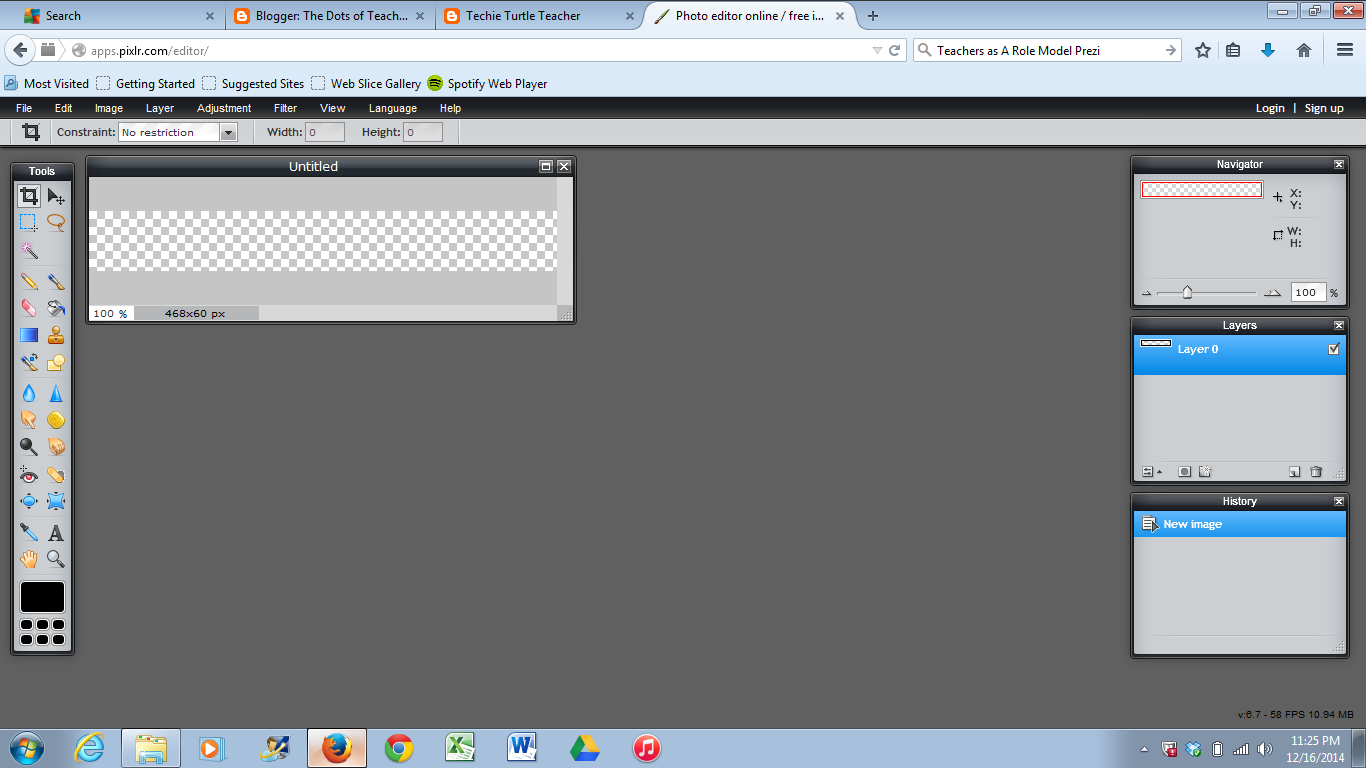
Then, choose the best appropriate site that would be perfect to make the board cover. For me, I use Pixlr

Then, pull up your Pinterest account and work on the board covers by making it look perfect for your board.

Then, I would start to work on the board cover and what it entails.

How to make a board cover:

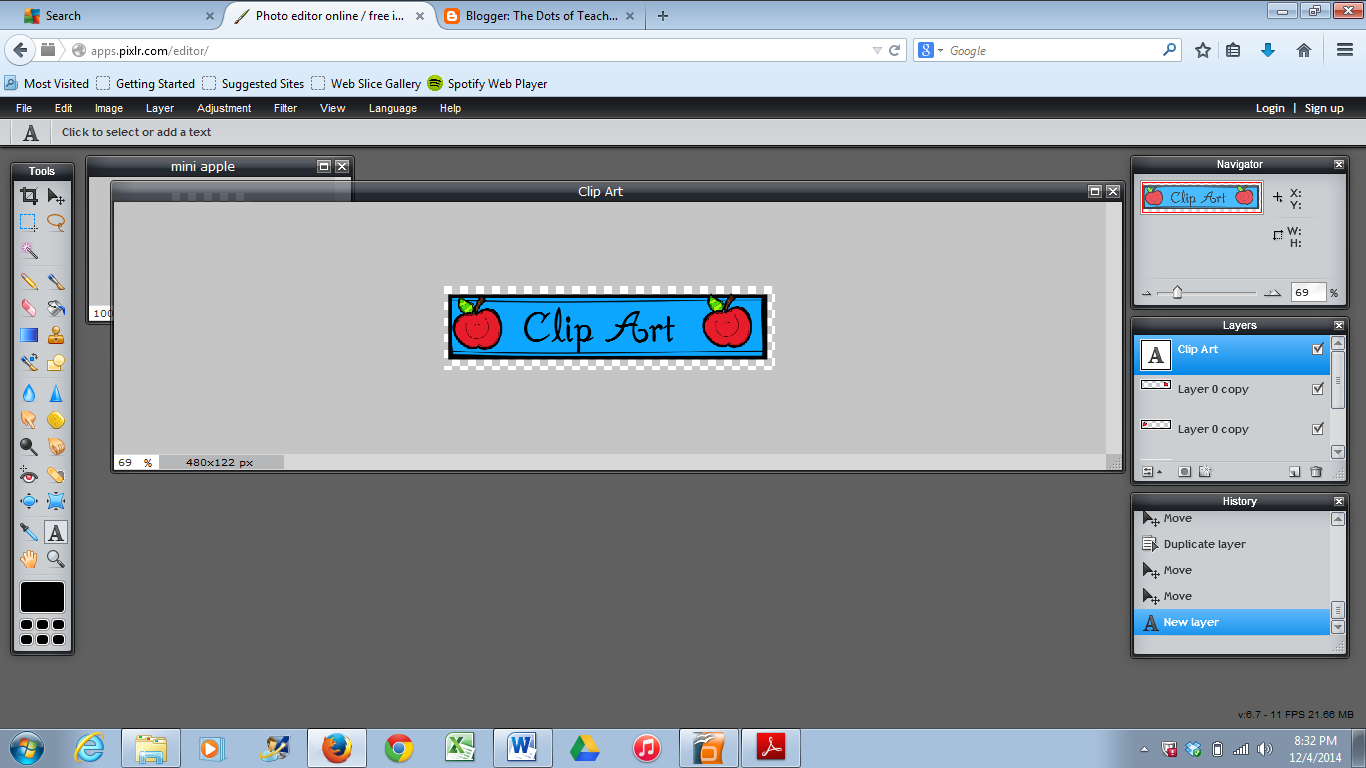
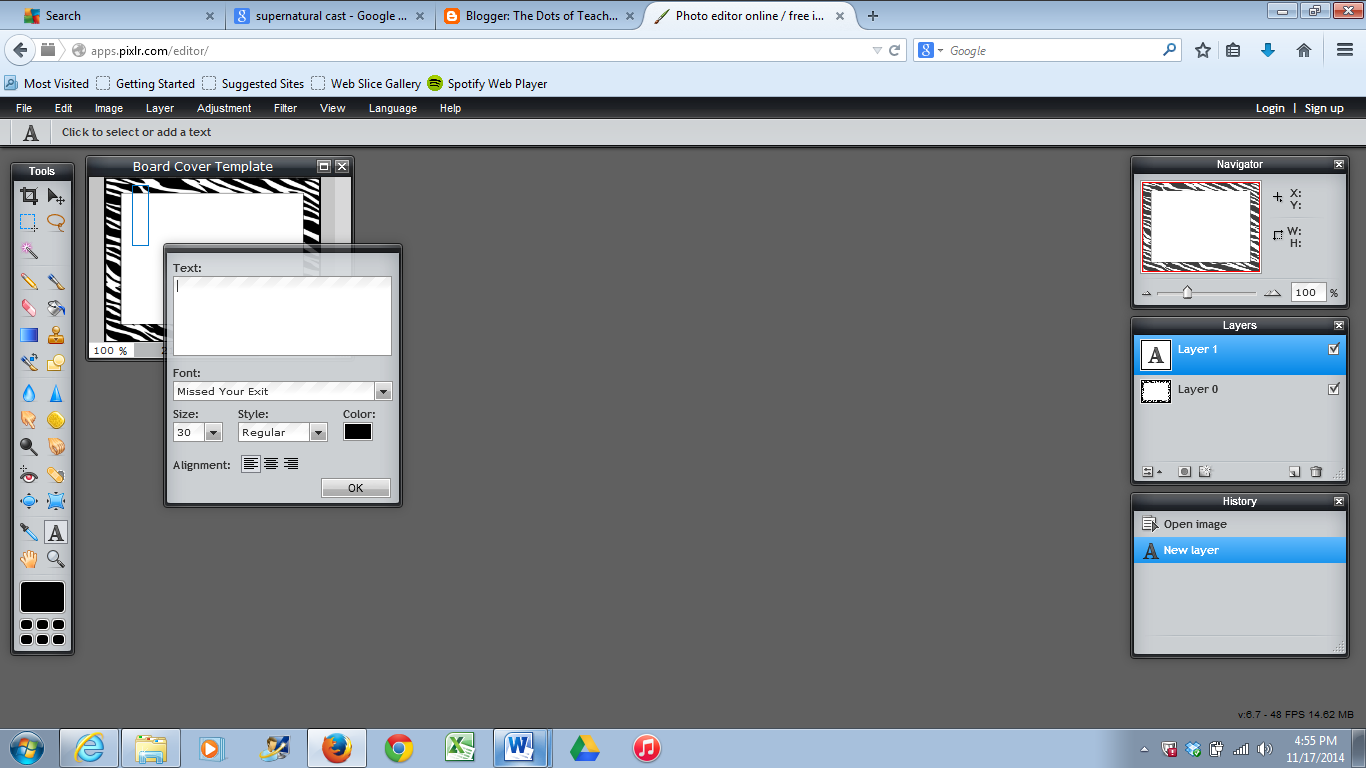
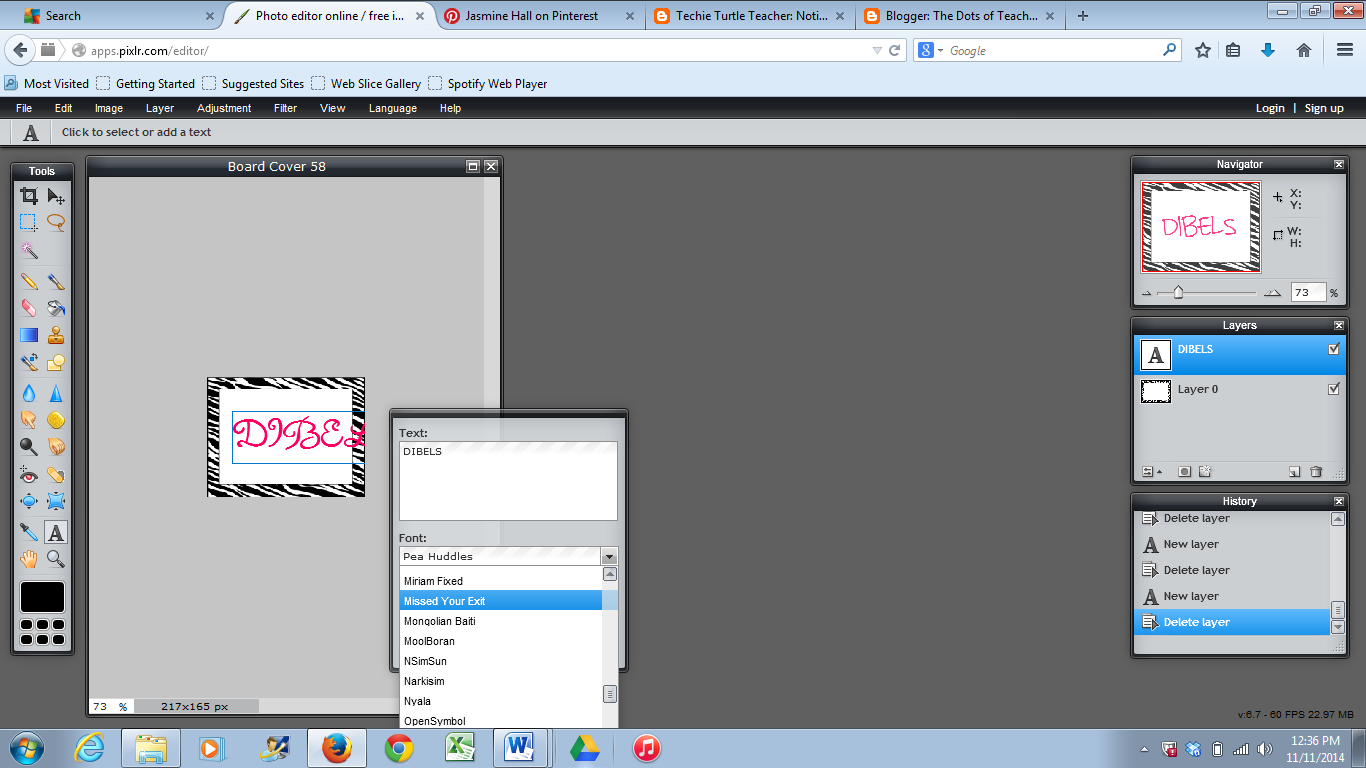
Step One: Put the Title of your board cover on your board cover template

Tip: Make sure that your Text can fit the box because that is what your potential followers would see when they get on this site.

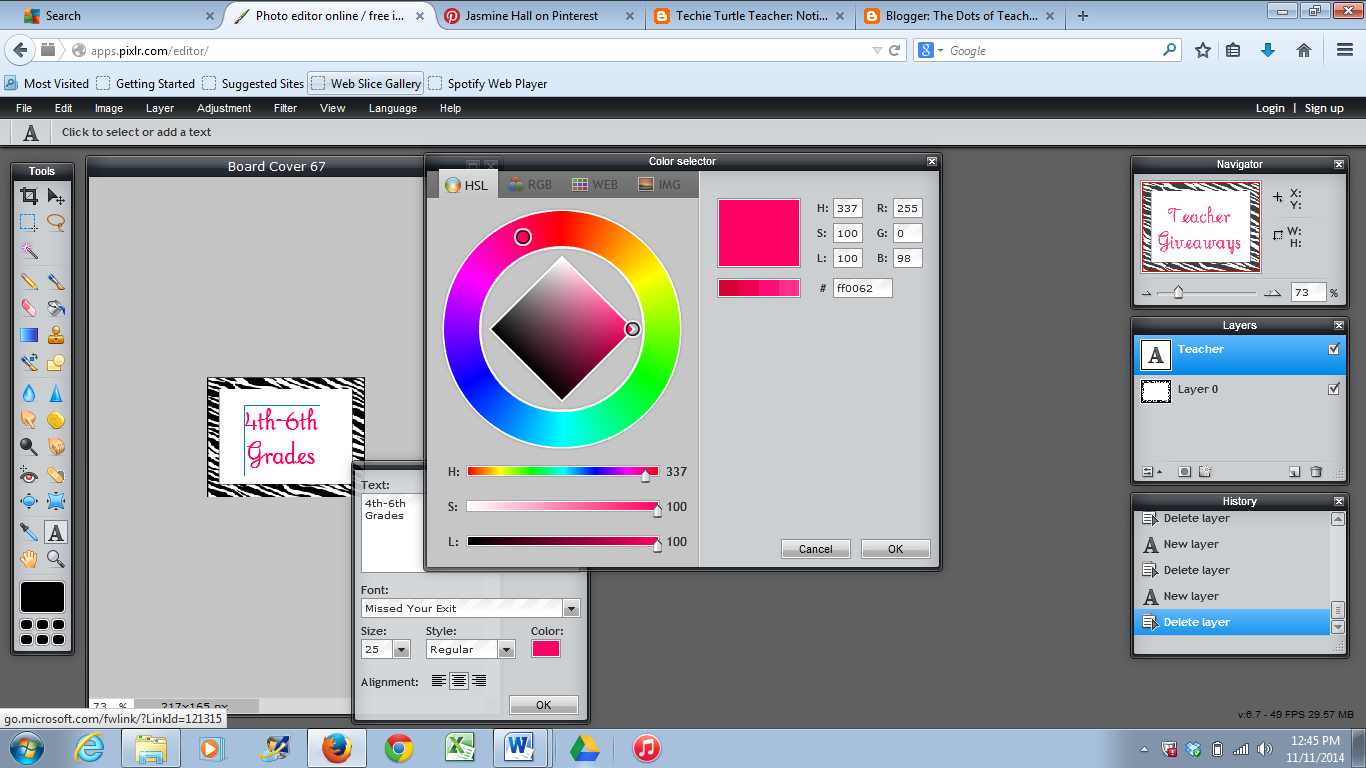
Step Two: Choose a text color that would pop out to the viewers.

Also, choose the font that would impress the viewers as well. For me, I choose Missed Your Exit From Kevin and Amanda. Check out their site for more fonts.

http://www.kevinandamanda.com/fonts/freescrapbookfonts/

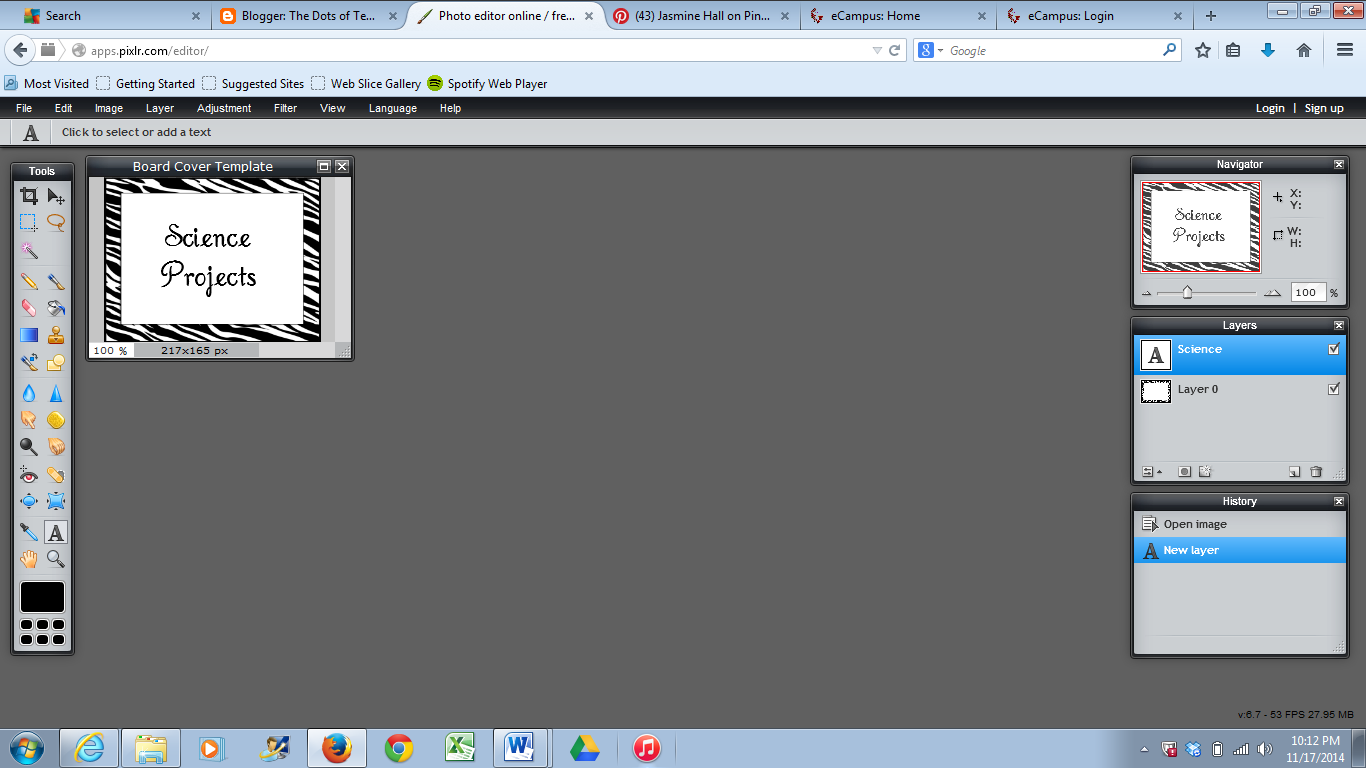
Now, back to the tutorial. After that make sure that the text fits the box and also make sure that the text is centered again.
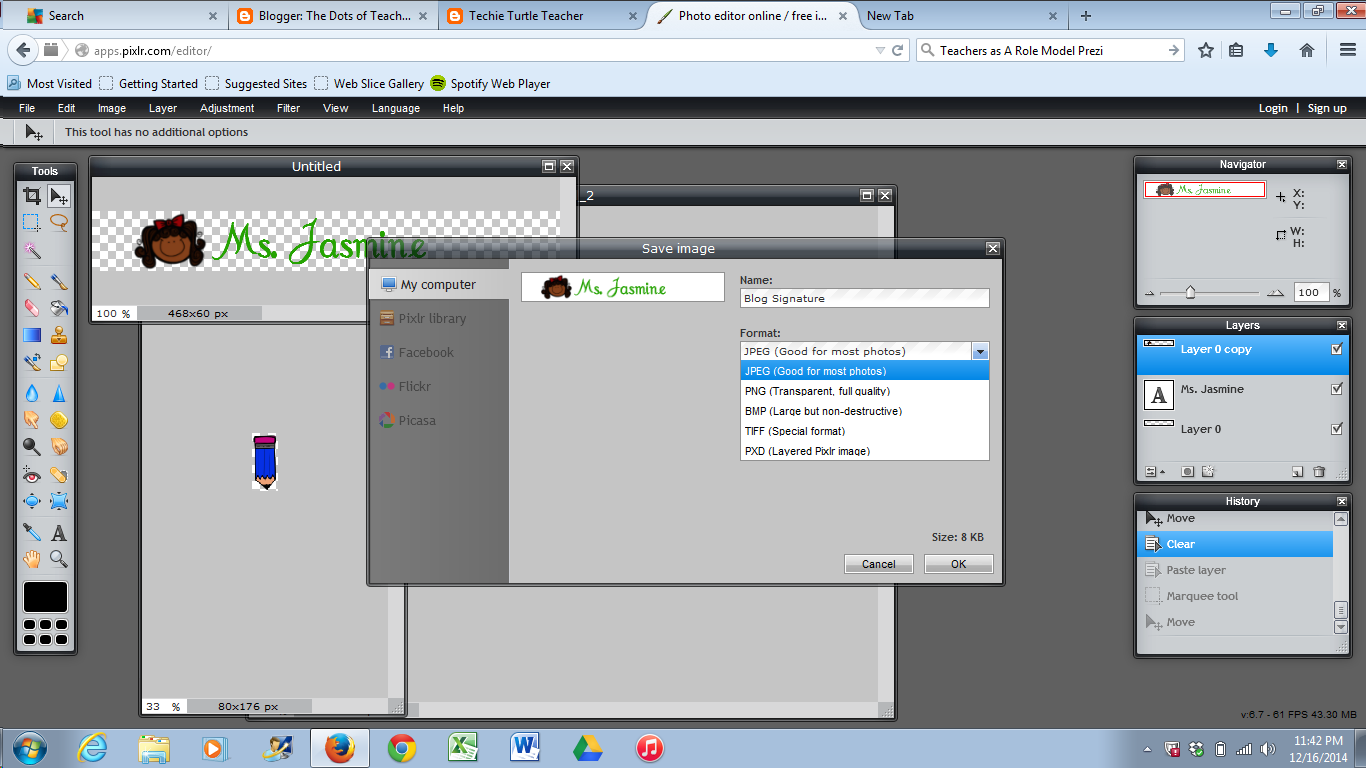
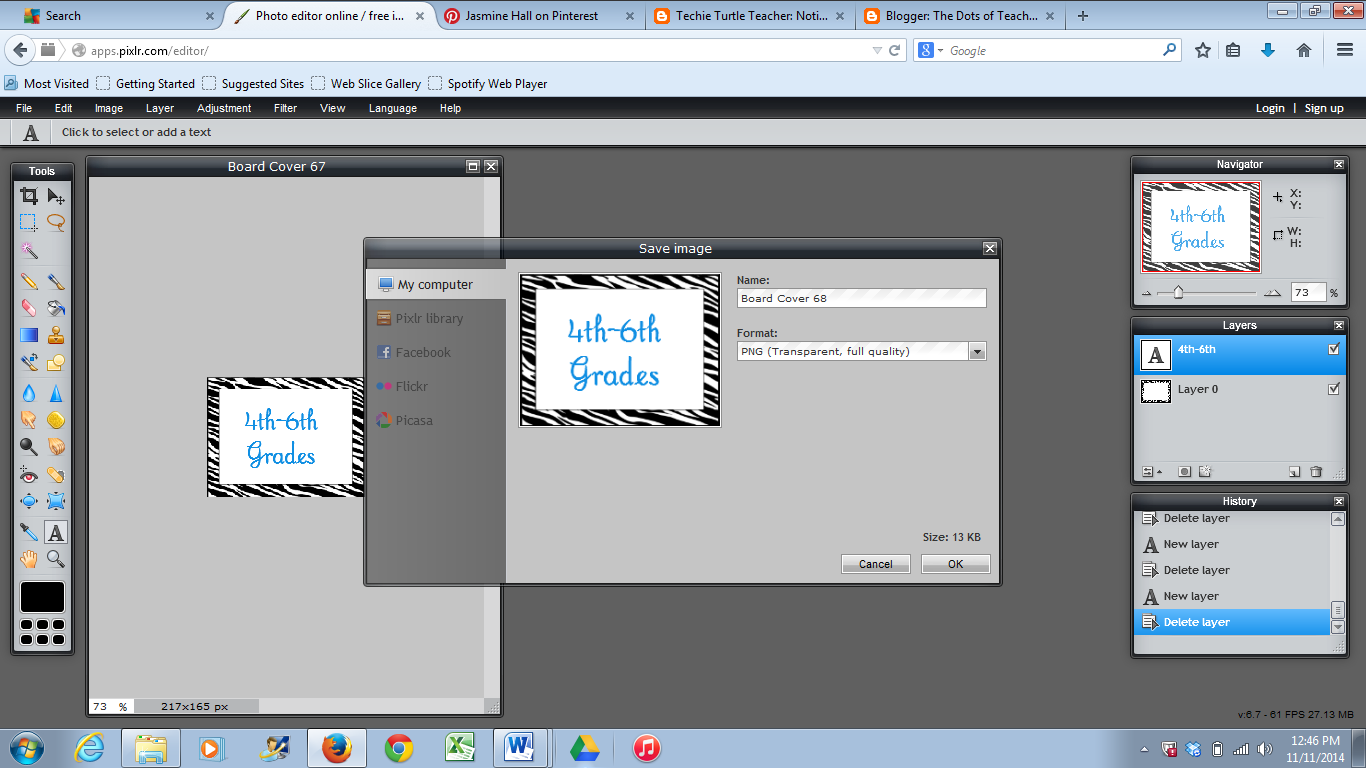
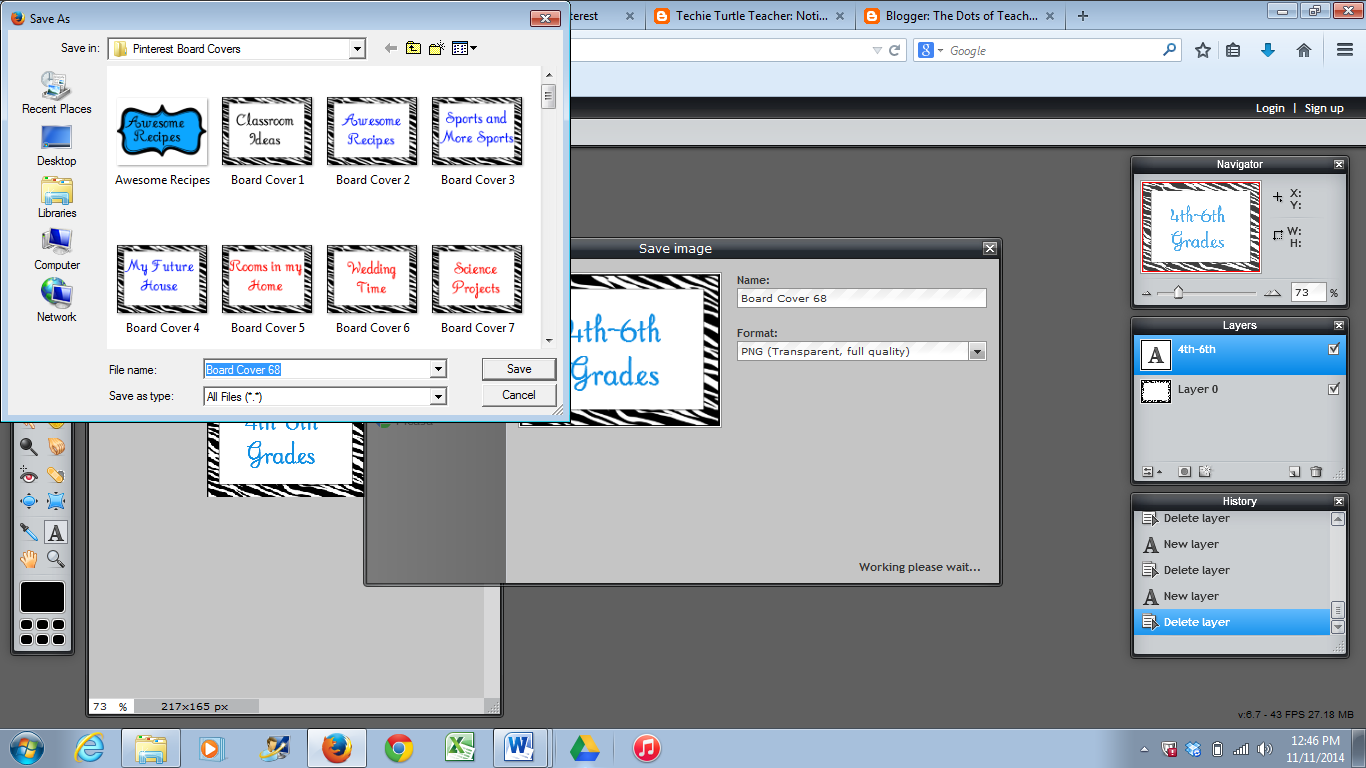
Finally, when you are done, make sure that you would save it.
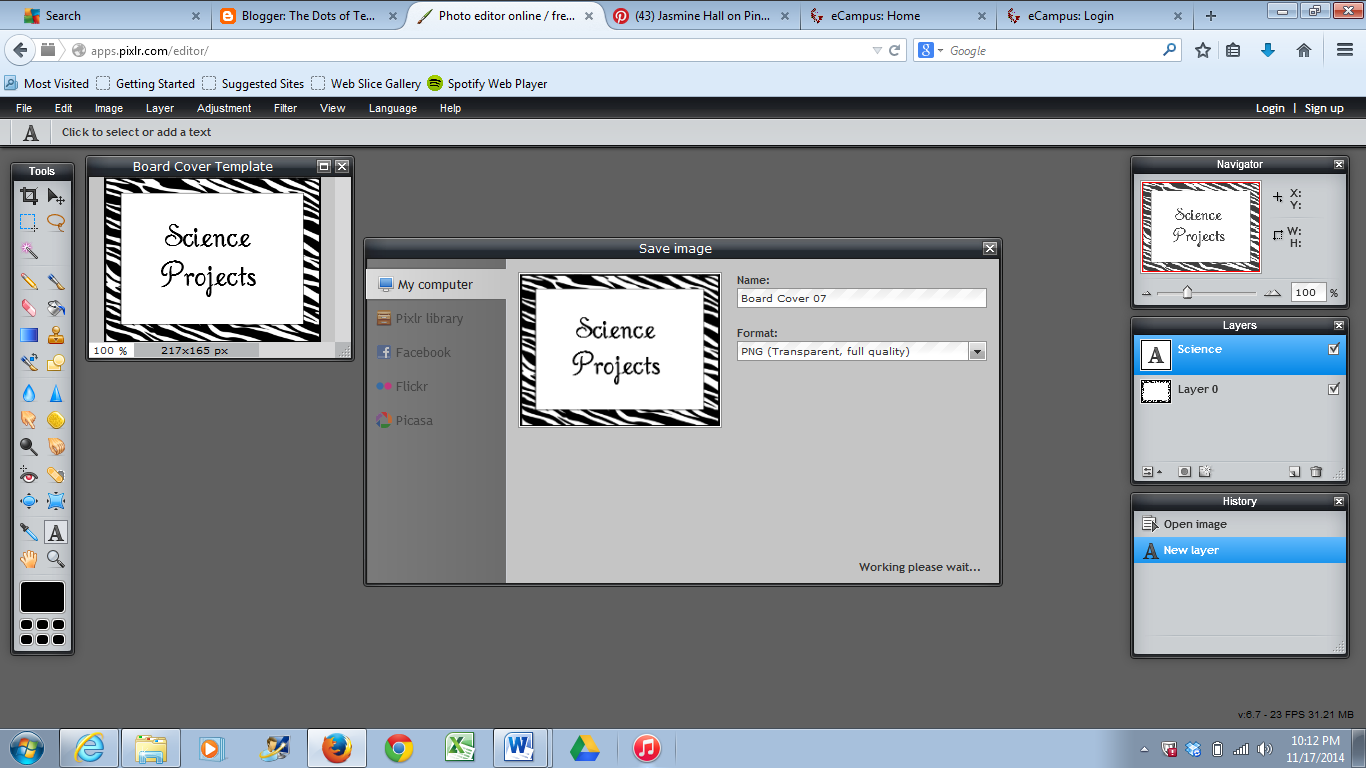
How to save? Well I would tell you…

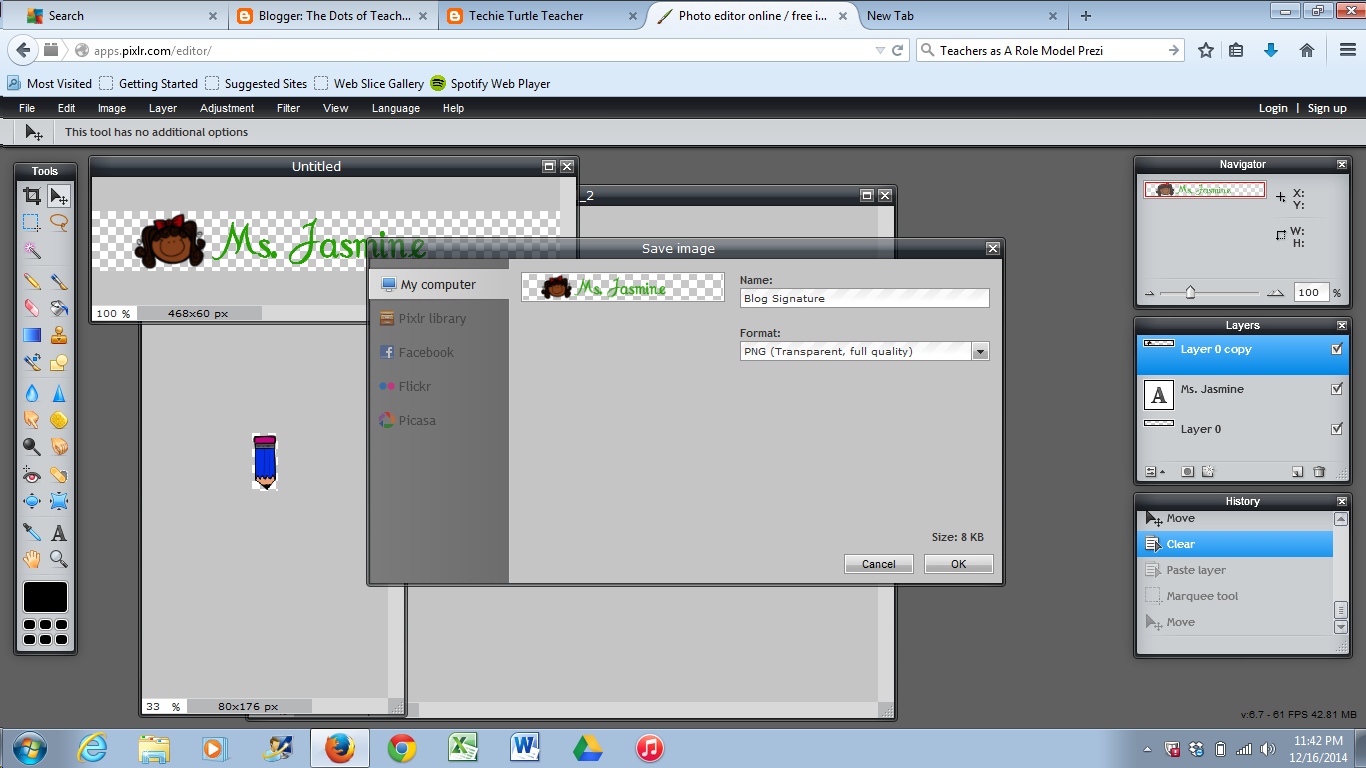
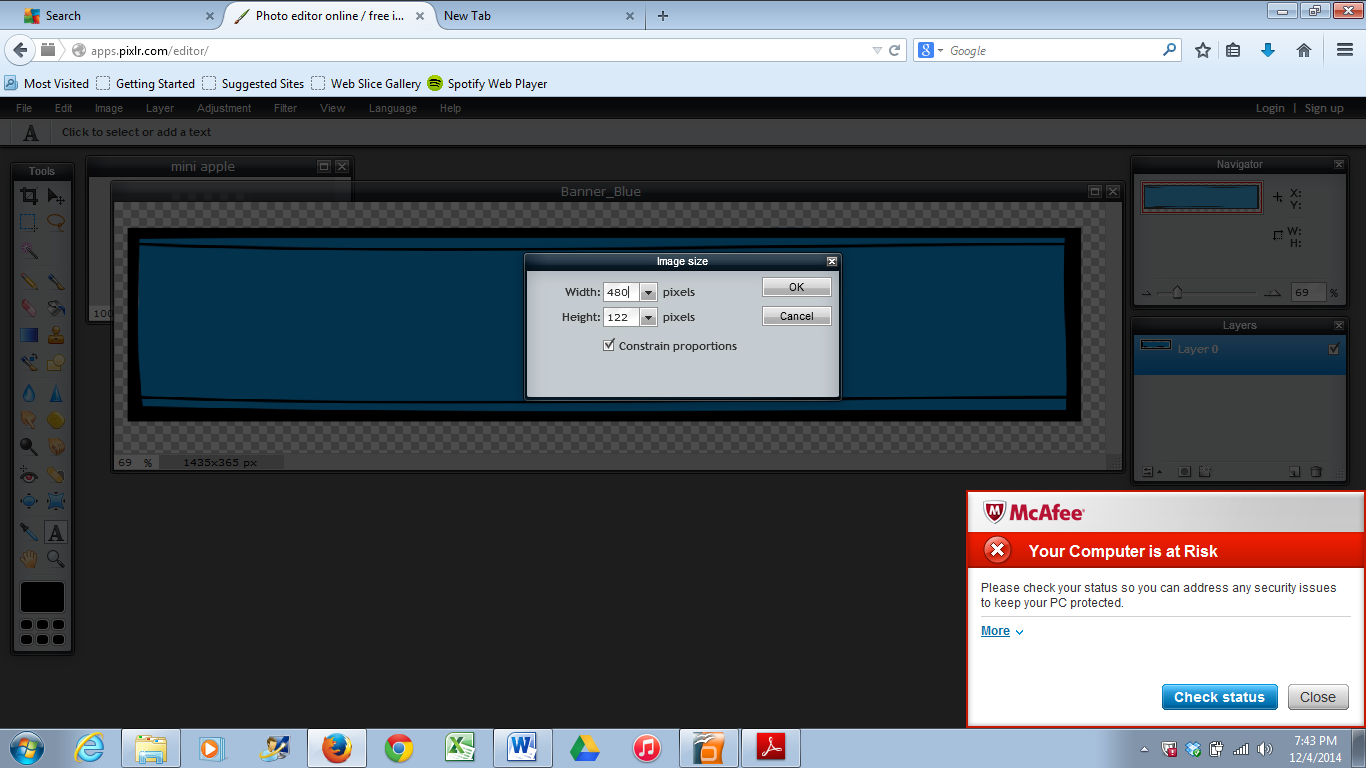
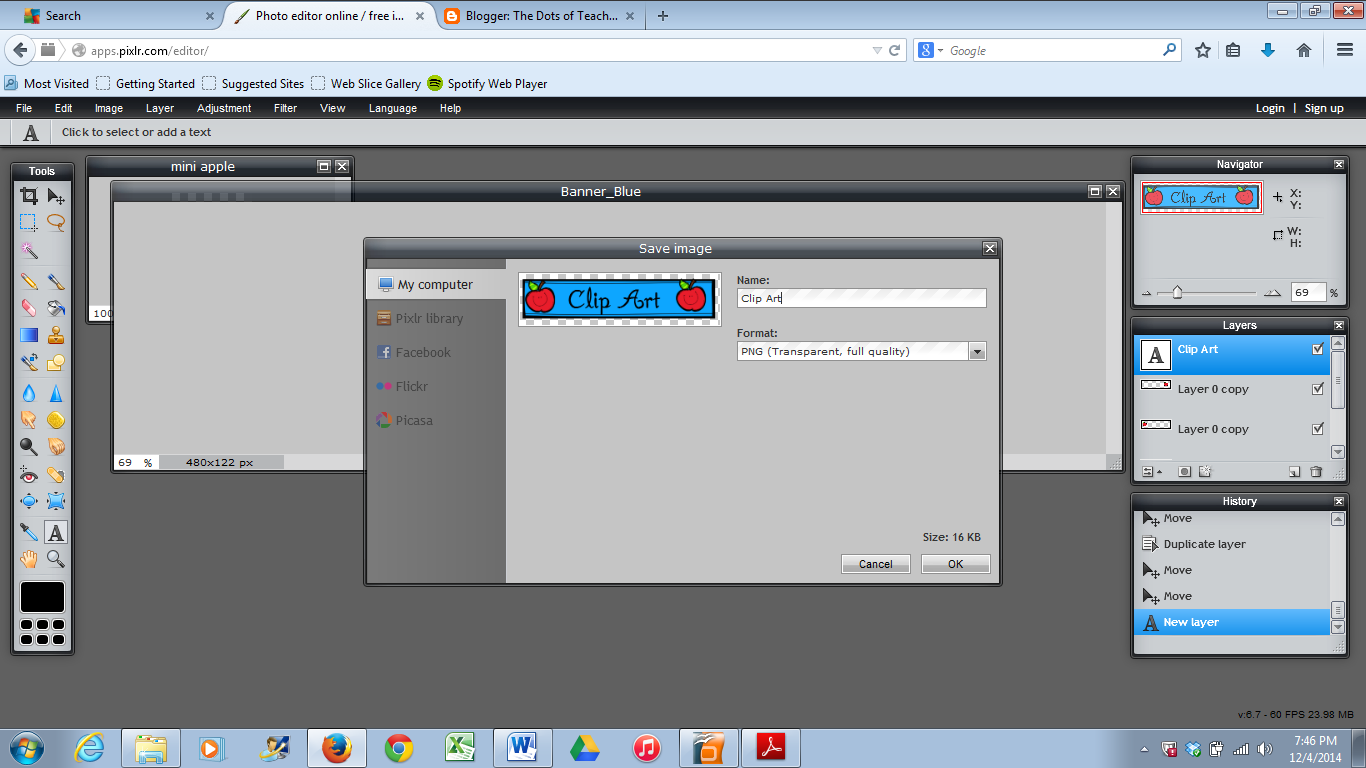
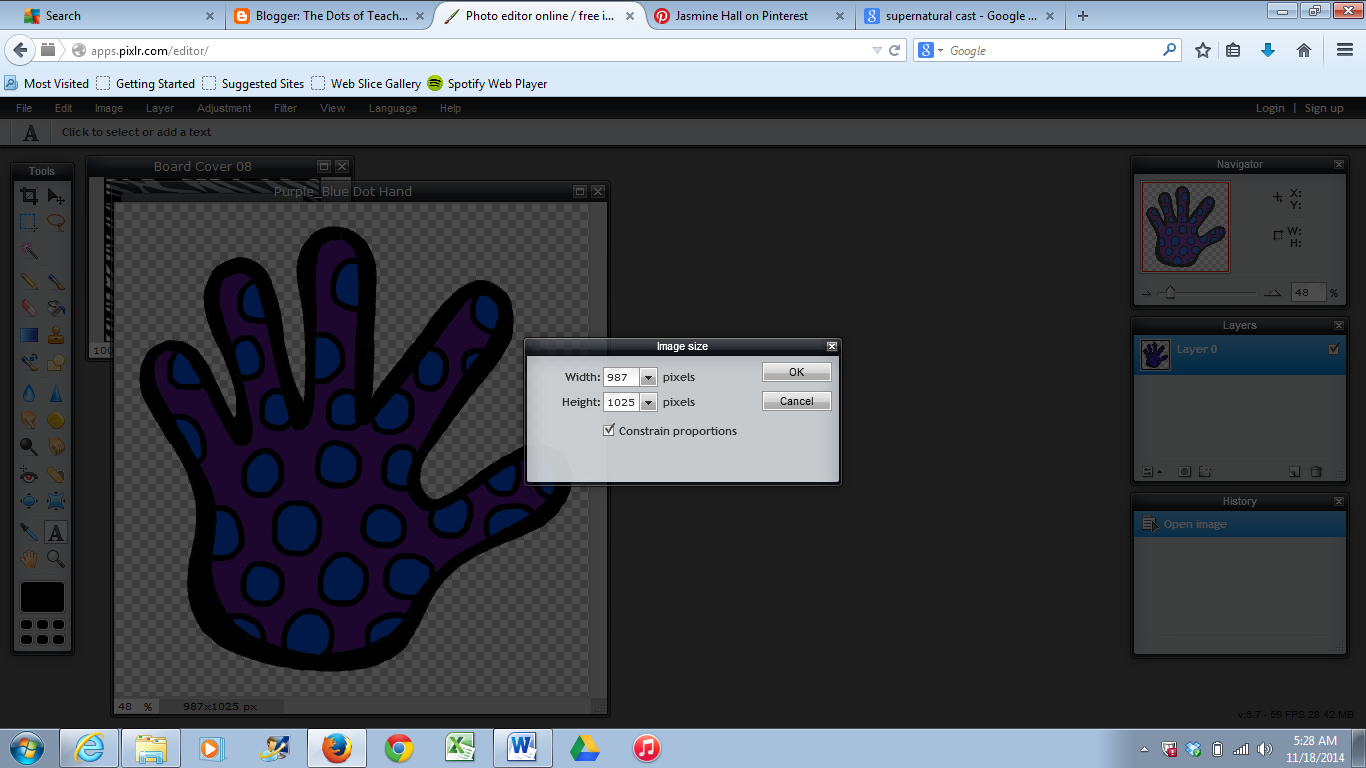
First, save it as a PNG so it could fit in the board. Also, check the measurements and see what is going on.

Then create a name that would help you remember that board cover and save it.

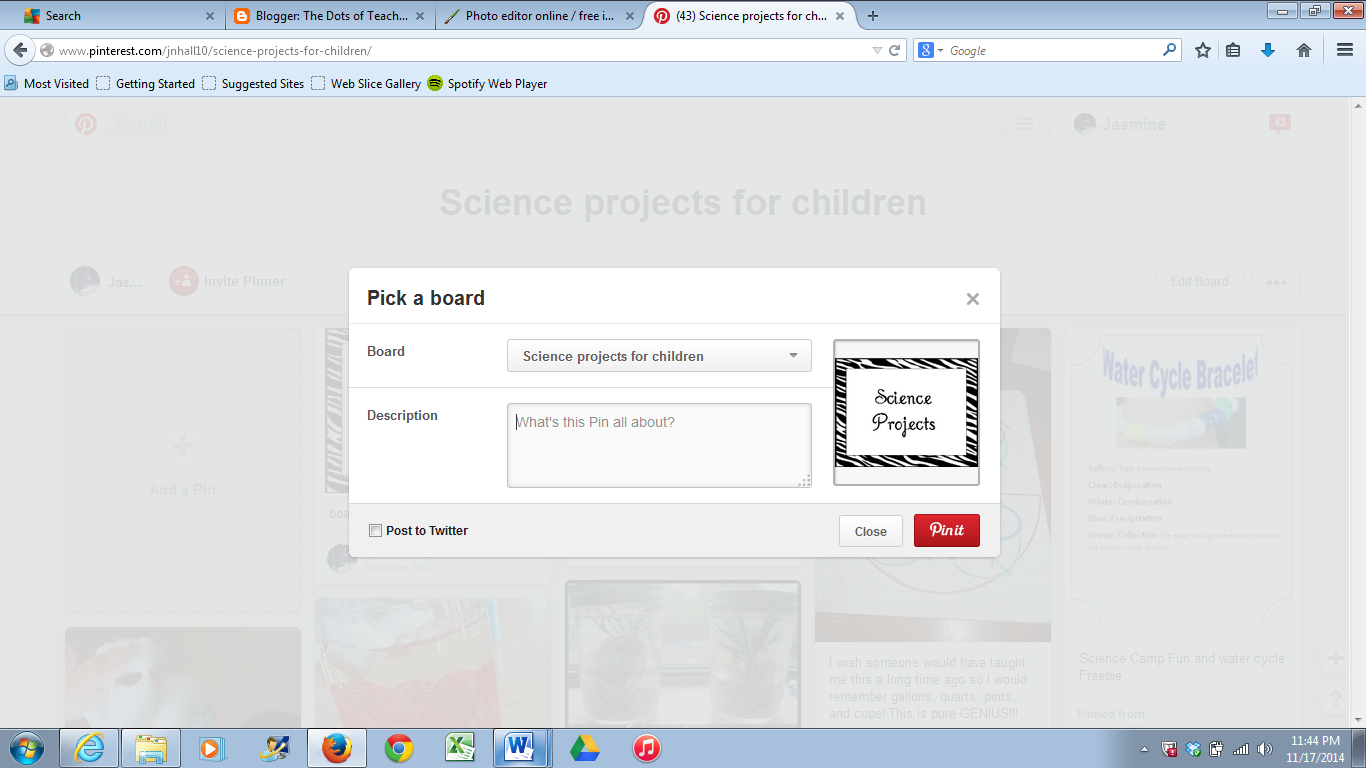
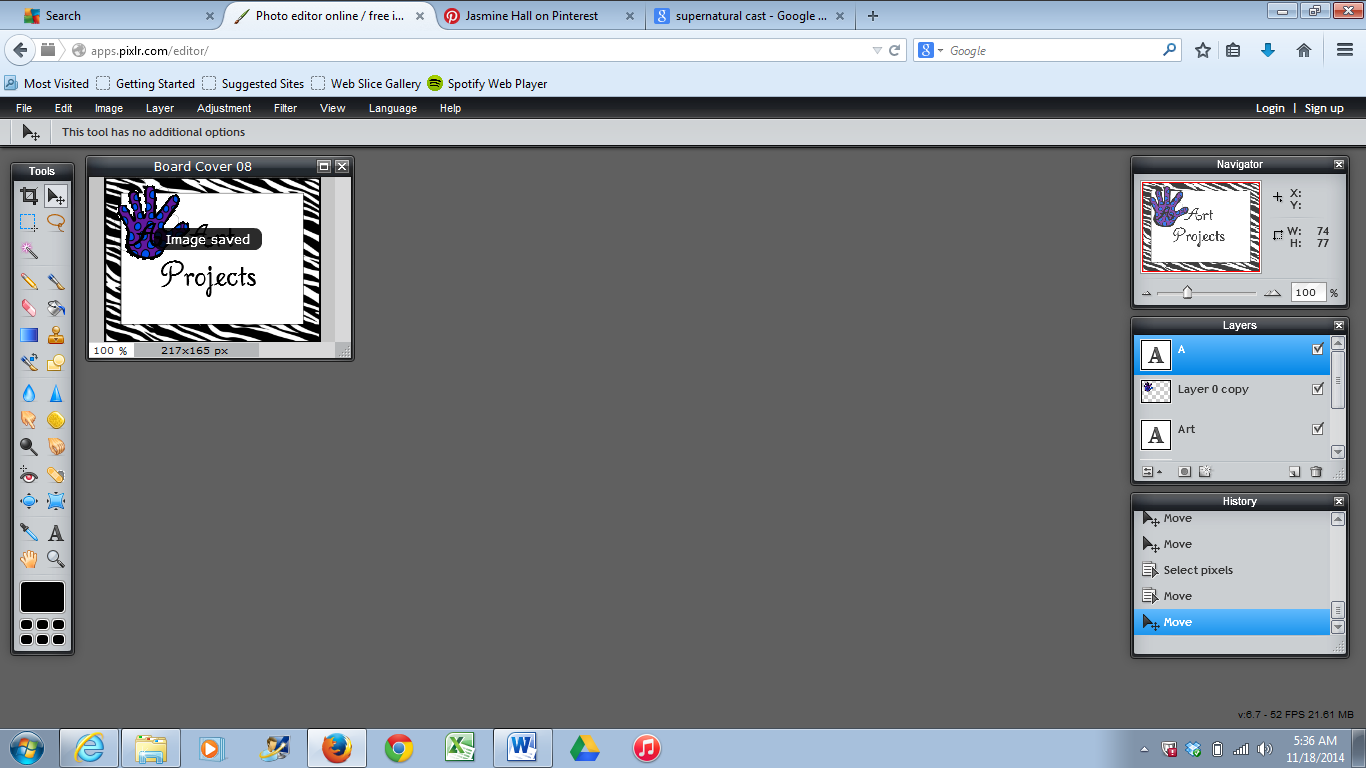
Now, the trick question is putting it on Pinterest. Well, upload it into your Pinterest and here is the end result…

Next week, I will tell you about how to decorate and edit the boards if things are not that good.

Link up with Cheryl on her linky party…I love the tutorials that would be more useful for our blogs.

http://techieturtleteacher.blogspot.com/search/label/tech%20tip%20tuesday

Thanks and I will see you soon.